WHAT THE ARCHIVE SAYS
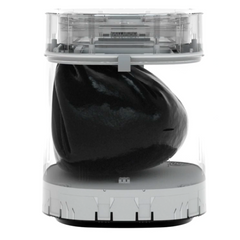
T Air Lite seals but does not place the next bag automatically.
The owner removes the sealed bag and pushes the next liner into the bin. This manual reset is the key difference from T1 and T3 Slim.
The recovered cycle pauses for about 20 seconds.
Historical instructions describe the sealing bars moving, pausing for approximately 20 seconds, returning to their initial position, and sounding two completion beeps.
Overflow changes the order of operation.
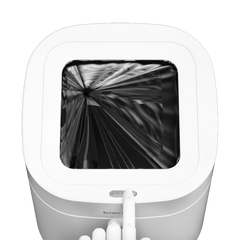
If waste extends above the rim, the top compartment is lifted first so the liner surrounds the waste before the sealing cycle begins.
STEP BY STEP
When waste is below the rim
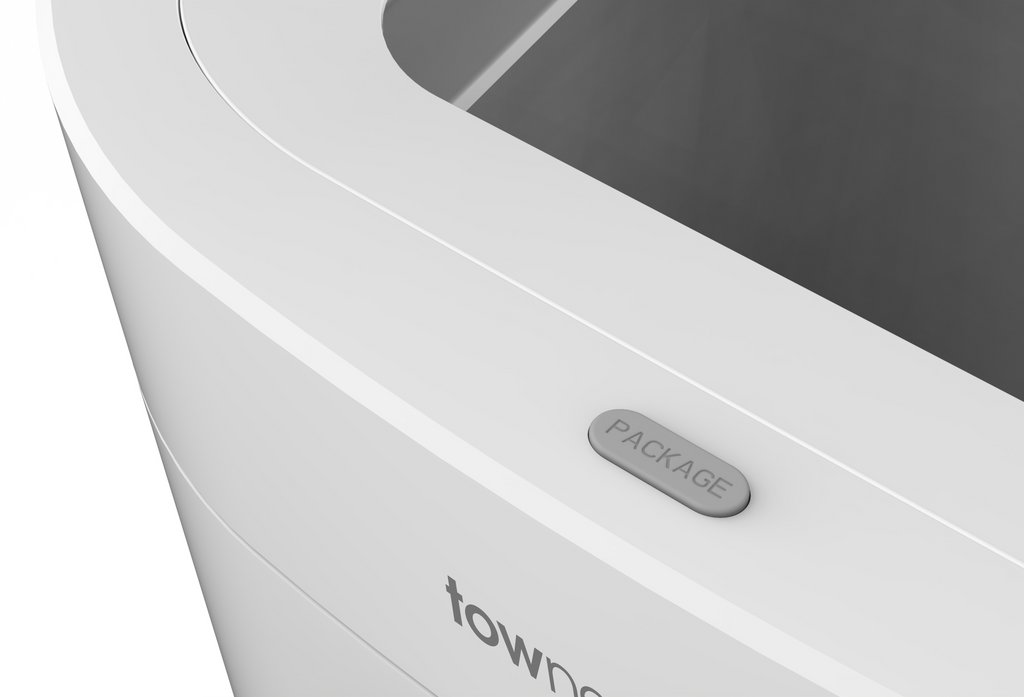
Press and hold the sealing button on top of the bin for about two seconds, until the start beeps sound.
Release the button and keep hands clear while the sealing bars move.
Wait for the mechanism to pause, return to its starting position, and sound two completion beeps.
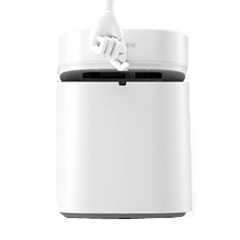
Use the top-compartment handle to lift the upper section.
Remove the sealed bag and lower the top compartment.
Push the new liner down into the bin and arrange it in place manually.
When waste is above the rim
Lift the top compartment until the liner fully surrounds the overflowing waste.
Keep the top compartment raised and hold the sealing button for about two seconds, until the start beeps sound.
Keep hands and objects clear while the sealing cycle runs.
Wait for the completion beeps and for the mechanism to stop fully.
Remove the sealed bag and return the top compartment to its normal position.
Push the new liner into the bin manually.
SAFETY AND LIMITS
Stop before a small issue becomes a mechanical one.
- Keep hands, clothing, and loose objects away from the sealing bars and moving top compartment.
- Do not touch the sealing area immediately after a cycle; the recovered product uses thermoplastic sealing and the area may retain heat.
- Do not force the mechanism if the liner, sharp waste, or another object is caught.
- Stop using the product if there is smoke, an unusual odor, abnormal noise, or liquid in the mechanism.
- The historical text called the upper handle a “knitting handle”; the exact current part name requires manual or hardware confirmation.
RECOVERED VISUAL REFERENCES